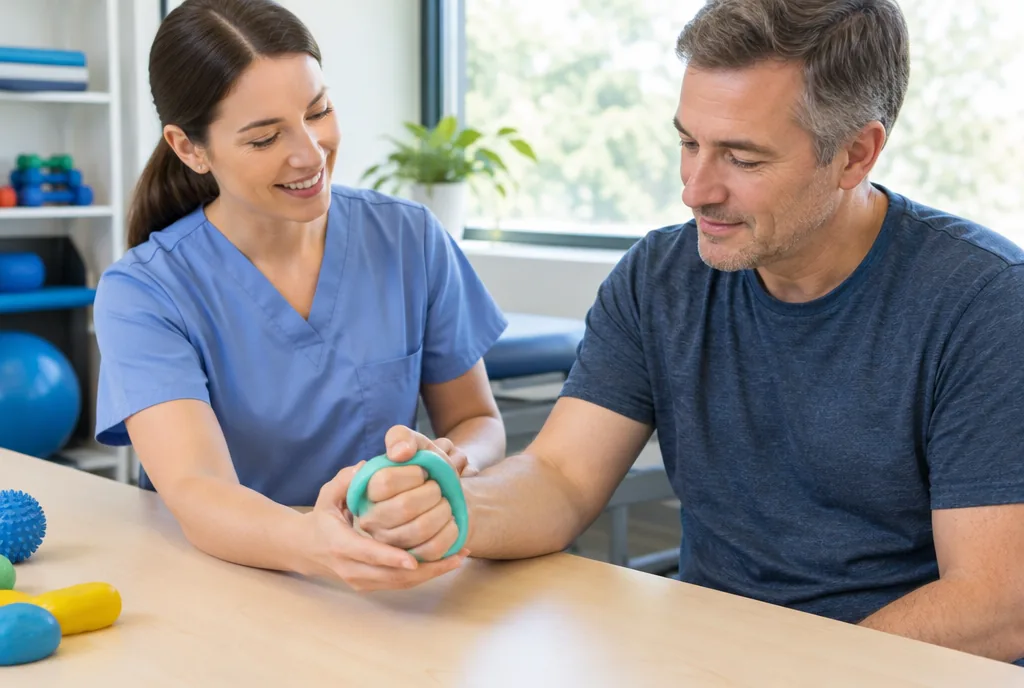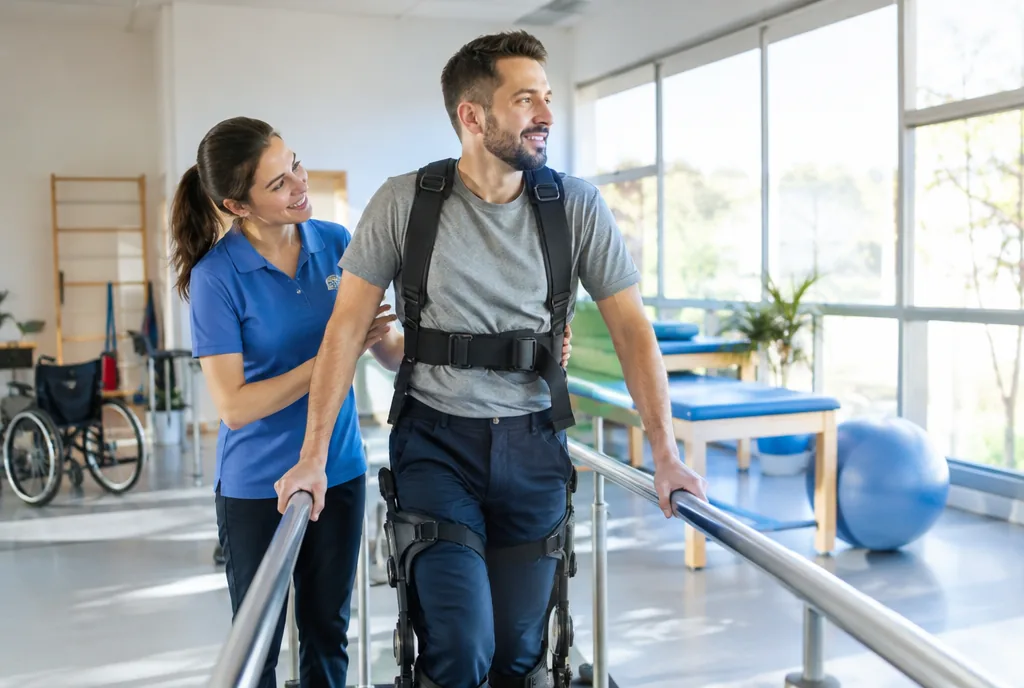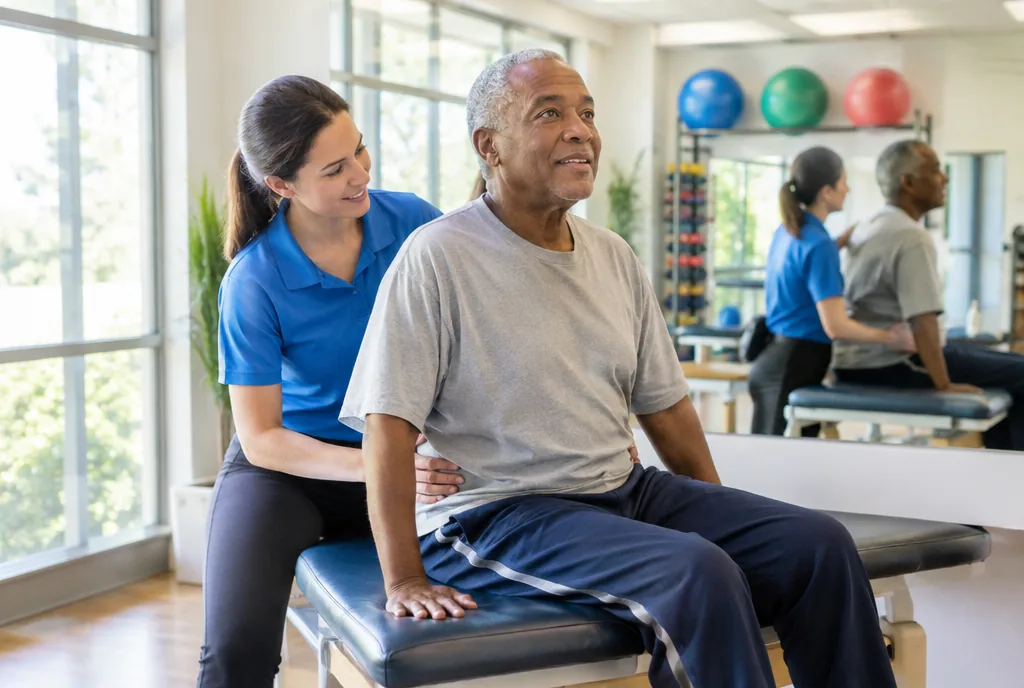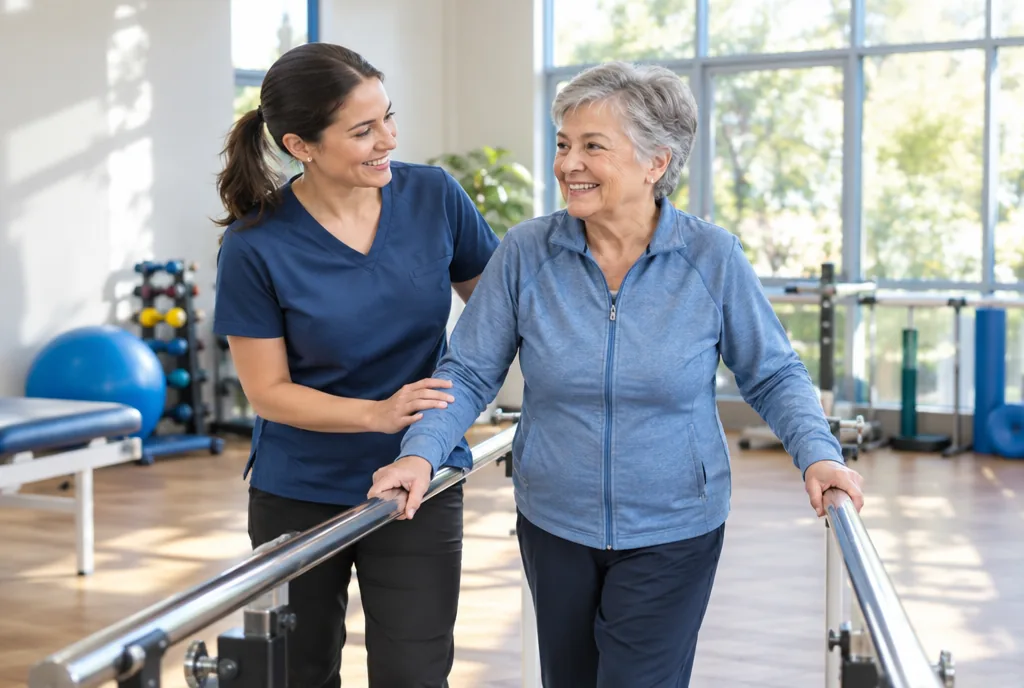
Knowing how to use a gait belt gives a caregiver a secure handhold at a person’s waist during standing, transfers, and walking. The belt can help you steady someone who is unsteady and control a descent if balance is lost, but it is not a lifting device or a restraint. The safest technique starts with the right fit, continues with deliberate body mechanics, and stops when the person’s condition or medical equipment makes a belt inappropriate.
What a gait belt can do during rehabilitation
A gait belt, also called a transfer belt, sits around the person’s natural waist near the body’s center of mass. From that position, it gives the caregiver a reliable point of contact for balance support, a sit-to-stand transfer, and assisted walking. It is especially relevant in neuro-rehabilitation, where a person recovering from stroke may have hemiparesis or uneven balance.
Most standard gait belts are cotton or polyester-cotton webbing about 2 inches wide with a metal or quick-release buckle. In practice, belts range from 1.5 to 4 inches wide and 54 to 60 inches long; bariatric sizes range from 61 to 100 inches. The three main types are single-patient-use belts, launderable fabric belts, and wipeable vinyl belts. Some belts have padded handles, which can improve the caregiver’s grip.
The belt creates controlled contact, not control over the person. It can help redirect or slow a fall in progress, yet it cannot make a fully dependent person safe to lift manually. A person who cannot bear weight needs a mechanical lift or full-body sling instead. More than one caregiver may be necessary depending on the person’s size and ability.
Put the gait belt on snugly without creating pressure points
Apply the belt over clothing, never directly on bare skin. Position it at the natural waist, above the hips and below the ribcage, with the buckle in front at the midline. This placement keeps the belt close to the center of gravity rather than high on the torso.
- Bring the belt around the person’s waist while they are seated or otherwise safely positioned.
- Keep the webbing flat. A twist creates a pressure point and leaves less surface for a secure handhold.
- Thread the belt through the buckle teeth, then through the two locking loops.
- Tighten until the belt is snug enough that only two fingers slide between the belt and the person’s body.
- Before moving, check the buckle, the flat webbing, and the two-finger fit again.
A belt with more than two fingers of slack can let a person slip through during a loss of balance. A belt positioned over the ribcage or against skin can create a different problem: discomfort, friction, or skin breakdown. When the person has fragile skin, use multiple layers of clothing beneath the belt, avoid sliding it across the body, and inspect the skin afterward for redness or bruising.
How to use a gait belt for walking without pulling backward
For walking, stand slightly behind and to the side of the person. Hold both sides of the belt with an underhand, palms-up grip. With a more stable person, one hand may hold the rear side of the belt. The underhand grip is stronger than an overhand grip and reduces strain on the caregiver’s wrist.
Stay close, set your feet about shoulder-width apart, and move at the person’s pace. Keep a hand on the belt throughout the walk. If the person uses a walker, they hold the walker while you hold the belt from the side or slightly behind. Do not pull them backward. The goal is to guide balance, not to tow the person forward.
Imagine a stroke survivor walking with a walker and a weaker leg. The caregiver stays on the weaker side and slightly behind, maintains the palms-up hold, and matches the survivor’s pace. If balance starts to go, the caregiver uses the belt to control the descent toward the nearest stable surface or gently to the floor. That is a very different action from trying to hold a falling person upright by force.
Make a sit-to-stand transfer more controlled
A good transfer begins before anyone rises. Have the person scoot to the front edge of the chair or bed, place both feet flat on the floor about hip-width apart, and bend the knees to roughly 90 degrees. These details give the person a base from which to push through their feet.
- Face the person and grasp the gait belt on both sides with an underhand grip.
- If one knee is weaker, brace your own knees against that weaker-side knee to help prevent buckling.
- Count “1-2-3” together. On “3,” the person pushes through their feet.
- Straighten your legs to guide the person forward and up. Do not pull with your arms or lower back.
- For sitting, have the person reach back for the chair armrest or bed edge while you control the descent through the belt.
For a two-person pivot transfer, one caregiver holds each side of the belt. A shared count matters because the movement should happen together, not as two separate pulls. If a person has become weaker over time, reassess the care plan: assistance may need to change from one caregiver to two.
Protect your back by moving your feet, not twisting your torso
Caregiver body mechanics are part of fall prevention. Keep your back straight, bend at the knees and hips, and use your leg and gluteal muscles rather than your lower back. Hold the belt close to your own body so the person’s weight stays near your center of gravity instead of creating leverage on your spine.
When a turn is needed, pivot your whole body by moving your feet. Do not twist at the waist while lifting or turning. Just as important, do not pull someone up by the arms or shoulders. That can strain the caregiver’s back and put the person’s shoulders and elbows at risk of dislocation.
A gait belt is a support tool, not a workaround for a task beyond one caregiver’s capacity. When a transfer feels too heavy or unpredictable, stop and bring in a second caregiver or the equipment named in the care plan.
Know when a gait belt is the wrong tool
Do not place a gait belt where it will press on a tube, surgical site, stoma, or unsafe area of the spine. Avoid a gait belt for a person with a G-tube, recent abdominal surgery, an abdominal hernia, colostomy, ileostomy, chest tubes, an abdominal pacemaker, or catheter drainage bags that could be compressed.
The belt is also inappropriate with severe spinal instability, acute spinal fractures, or spinal cord injury when pressure at the waist is unsafe. A person who is completely unable to bear weight requires a mechanical lift or full-body sling. When the person’s diagnosis, surgery, equipment, or mobility plan leaves any doubt, see a doctor or ask the treating clinician for specific transfer guidance before using a belt.
Avoid common myths that turn a safety tool into a hazard
| Myth or mistake | What safer use looks like |
|---|---|
| “Loose is more comfortable.” | Use the two-finger check. More slack can let the person slip through the belt. |
| “An overhand hold is fine.” | Use a palms-up underhand grip for a more secure hold and less wrist strain. |
| “The belt can stay on after the transfer.” | Remove it when the walk or transfer is complete. It can catch on furniture or bed rails. |
| “A belt can keep someone in a chair.” | Never tie it to a chair or bed. A gait belt is never a restraint. |
An unsteady person who can bear weight and follow simple commands is often a strong candidate for gait belt support. That includes people with poor balance, post-stroke hemiparesis, or age-related weakness. For an older adult with dementia, explain the action in simple words before applying the belt: “I’m going to put this belt around your waist to help you stand up.” For someone taking blood thinners, check skin frequently because pressure can cause bruising; padding may be needed.
The need for help can change. A person who once transferred with one caregiver may need two if weakness progresses. Never leave the belt on an older adult who is unattended in a chair or bed.
Why careful technique matters for fall prevention
In the United States, more than one in four adults age 65 and older falls each year, and one fall doubles the risk of another. Older-adult falls account for about 4.5 million emergency department visits each year, including 3.1 million treated-and-released visits and 1.4 million hospitalizations.
Within a formal safe-patient-handling and early-mobility approach, gait belts are used as fall-prevention devices because they give a caregiver a controlled contact point. The value is in the details: a secure fit, a close stance, an underhand grip, a paced movement, and a planned response if balance fails. The belt comes off as soon as the transfer or walk ends.
Frequently Asked Questions
What is the correct way to put on a gait belt?
Place it over clothing at the natural waist above the hips, with the buckle at the front midline. Thread it through the buckle teeth and two locking loops, keep it flat, and use the two-finger fit check.
Should you use a gait belt if a patient is unsteady?
Yes, if the person can bear weight and follow simple commands. The belt gives the caregiver a point of contact to support balance or slow a fall. If the person cannot bear weight, use a mechanical lift or full-body sling instead.
How do you use a gait belt for walking?
Stand slightly behind and to the side, keep a palms-up hold on the belt, and walk at the person’s pace. With a walker, the person holds the walker while the caregiver guides from the side or slightly behind.
How should you use a gait belt for an elderly person?
Put it over clothing, avoid sliding it across fragile skin, and check for redness or bruising after use. Explain each step simply for a person with dementia, and remove the belt whenever the person is unattended.
When should you not use a gait belt?
Do not use one over abdominal surgery sites, a G-tube, a stoma, chest tubes, drainage bags, unsafe spinal injuries, or when the person cannot bear weight. See a doctor or treating clinician when the medical condition or mobility plan is uncertain.